


My initial thought was simple. What if I could use my own cloud server (VPS) hosted in the destination country and set up my own dedicated proxy / VPN gateway. With decreasing VPS prices, I could get a decent instance up and running for ~$2/month and with a little bit of Linux knowledge I could set it up as both VPN and proxy gateway.
Proxy vs. VPN
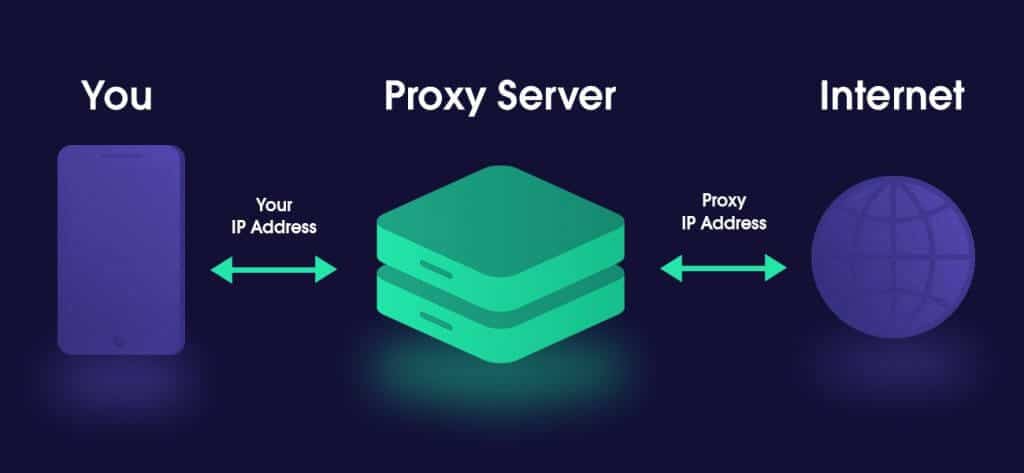
The reason I became interested in proxy was that most entertainment devices do not support VPN configuration, but allow you to enter proxy details. I have successfully done this with Chromecast, Google TV and with a little bit of effort also using my Apple TV (follow these instructions). Proxy is not great if you are trying to become anonymous, but it does a very good job in hiding your IP while maintaining your bandwidth speed. NordVPN published a good summary of proxy vs VPN differences.
As for VPN, I wanted to try the Wireguard protocol to increase my bandwidth. While there are now several commercial Wireguard-enabled providers, the coverage in countries I care about is still lacking. Creating a Wireguard server is relatively easy and there many tutorials to help you. I decided to run Wireguard as a Docker package using the excellent LinuxServer.io image. With a little bit of tweaking, you can get it done in under 30 minutes.
Picking the right VPS
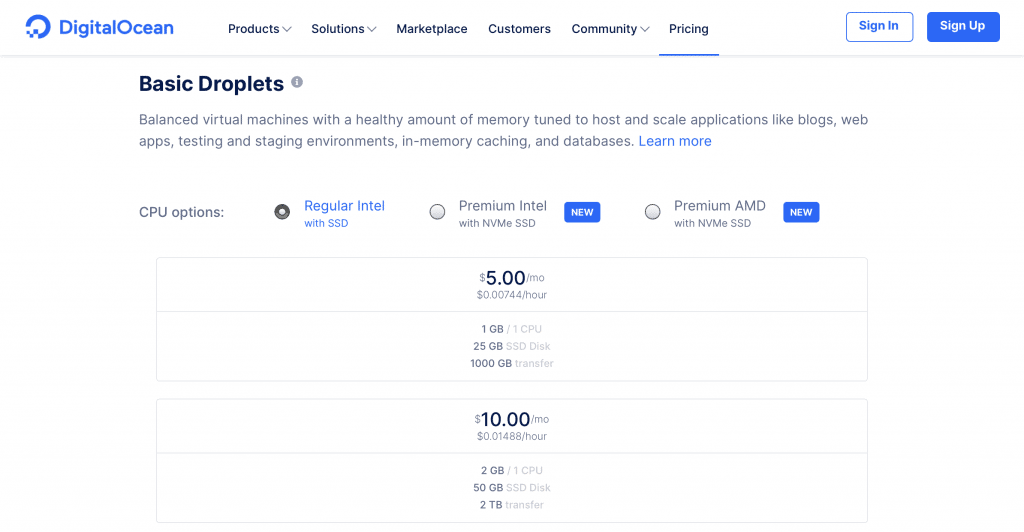
If you are not sure which VPS to pick, focus on two elements – connectivity and allowed monthly traffic. For connectivity, you probably want at least a 1 Gbps link. Your instance will likely get aggregated with other VPS instances, so realistically your speeds will be lower, but at least you know you won’t be throttled at 100 Mbps. Monthly traffic (often called egress/ingress traffic) is another limitation for cheaper VPS instances. For example, the free Google Cloud VPS (f1-micro) allows only 1 GB per month making it unusable for any data-heavy use case. Therefore, look for providers that will give you at least 1 TB per month.
For CPU and RAM, any basic configuration should be more than enough to use the cloud VPS as a proxy (as well as VPN server) since these processes do not require too much power. 1vCPU and 1 GB RAM should be sufficient.
Finally, do not pre-pay your VPS for more than necessary. You will want to test the actual speeds before committing for longer. I would also recommend you to stay away from the most popular VPS providers since their IP ranges are sometimes blocked by Netflix.
Setting up the proxy server
Hopefully, by now your VPS is up and running and you were able to SSH into it. Now, all we need is to set up a proxy server that will filter the traffic and disguise your IP. After a little bit of research and testing, I ended up using Squid cache proxy that has been around since 1996. Squid’s primary function is to reduce bandwidth and response times by caching websites, but you can customize it for many other use cases. The installation is simple:
- Install Squid:
apt-get install squid - Open the main config file:
nano /etc/squid/squid.conf - Add your home network IP and subnet to the config file to allow access to Squid:
acl mynetwork src 192.168.0.0/255.255.255.0
http_access allow mynetwork - In the same file, turn off IP forwarding in order to hide your home IP:
forwarded_for off - Finally, restart Squid:
/etc/init.d/squid restart
Now you should have a fully functional proxy running under your VPS IP port 3128 (you can change the port number in Squid configuration). If you want to test it on an iOS device, click on your Wifi network settings and scroll down to “Configure Proxy” and select “Manual”. In the default configuration, you do not need a username/password, but it is possible to set it in Squid config file. If you set everything correctly, your external IP address should be the IP address of your VPS.
Conclusion
Overall, I am very happy with using cloud VPS as a proxy. I am getting excellent speed (250+ Mbps) and I am able to configure specific clients to use this proxy even if they do not have native VPN support. I am still keeping my commercial VPN subscription for situations where I need full privacy, but for daily use, I will probably use my own Squid proxy and Wireguard VPN.